Pages

Subscribe:

Labels

Sunday, 13 February 2011

MT6516 flashing tutorial

Here you can find the instructions on how to flash your MT6516 based phone. Although example images shown here refer to HOT HD9, you can flash other phones based on this MediaTek chipset, with the correct ROM files, of course.

Make sure you read everything carefully and know what you are doing. Don't blame me for any damage on your phone.


What's needed:
  • Flashing cable (USB to UART cable with PL2303 chip)
         USB to UART cable                      Pinout (phone side)
  • USB data cable
  • Profilic PL2303 drivers
  • MediaTek USB VCOM drivers
  • SP Flash Tool (v1.1110 or higher)
  • SN Write Tool (alternatively Maui META or WriteCode can be used as well)

And now the tutorial...
  • Make sure that you have already installed the Profilic PL2303 drivers needed for the USB to 3,5 mm headphone cable.
  • Open SP Flash Tool for MT6516 and chose which system you want to flash in your HD9. Under project you are able to choose Android or Windows Mobile.
  • Make sure you have selected the right COM port is selected and that baud rate is set to 921600 bps.
  • Click on Format to literally format NAND flash of your HD9.
  • Then turn off your HD9, remove the battery and plug the serial cable to the PC and the jack to the phone.
  • Click Start, replace the battery and press power button for a few seconds until you see the red progress bar along with the message Format All is Processing.
  • After the red progress bar is complete, the real format will begin and a green progress bar will appear.
  • When the process is finished a new window will pop up, just press OK to continue.

  • Now remove the battery once again, keeping the serial cable connected to the PC and the phone.
  • Click Download and make sure that every file needed to flash Android / Windows Mobile is selected:
    • Android
      • BK Modem DB / RS Modem DB - BPLGUInfoCustomApp_MT6516_S01_MAUI_10A_W10_48
      • BK AP DB / RS Modem DB - APDB_MT6516_S00_2010_20
      • PRELOADER - preloader_bird16_a10y.bin
      • UBOOT - uboot_bird16_a10y.bin
      • BOOTIMG - boot.img
      • RECOVERY - recovery.img
      • SEC_RO - secro.img
      • ANDROID - system.img
      • LOGO - logo.bin
      • USERDATA - userdata.img
    • Windows Mobile
      • BK Modem DB / RS Modem DB - BPLGUInfoCustomApp_MT6516_S01_MAUI_09B_W10_16_MP_V5
      • BK AP DB / RS Modem DB - APDB_MT6516_S00_2010_20
      • FLASH BIN file - flash.bin
      • XLDR - MT6516_mldrnandforMTK.nb0
      • EBOOT - MT6516_EBOOTNAND.nb0

  • Click Start, replace the battery and press power button for a few seconds until you see the red progress bar along with the message Download is Processing.
  •  After the red progress bar is complete, there will appear a purple progress bar.
  • Right after the purple progress bar is complete, you’ll have to connect the normal USB data cable. The message will appear under the progress bar: “Please insert USB cable in x seconds”.
  • After plugging the USB  data cable into the phone the download will start. The first time you connect the cable, your computer will detect a new hardware and you’ll have to install MT6516 USB VCOM drivers.
  • There will be one yellow progress bar for every part of the ROM (preloader to userdata / xldr to eboot).
  • After all is complete a new window will appear with a report of the download. The following popup should appear:

  • Now you have completed the process of flashing the ROM into your HD9. Because the NAND flash was formatted in the beginning of the flash progress, you have now to re-write your phone IMEI1 and IMEI2.
  • Open SN Write Tool and make sure that the correct COM port is selected and baud rate is set to 115200 bps.
  • While keeping only serial cable connected to the phone, remove the battery and wait 10 seconds with the battery removed.
  • Click Start and you be asked to enter IMEI1 and IMEI2. Enter the correct number in the correct fields.
  • After entering the correct IMEI numbers and clicking OK, you have to replace the battery and press power button on the phone. If you have flashed Android, => Meta mode will appear in the bottom left of the screen.

Attention: Please follow the instructions carefully. I will not take any responsibility on whatever may happen with your phone.

Note: All needed tools and drivers can be downloaded from my MT6516 Tools 4shared folder. The password to login is bm-smartphone-reviews.blogspot.com. Have fun.

Update: Here's a trick if you want to flash just one part of the ROM, in this case the recovery. Without formatting flash, deselect all parts except the one you want to flash.


After that, you just have to click start and turn on the phone with USB data cable connected (in this case you don't need the USB serial cable).

Friday, 21 January 2011

HOT HD9 (Dual SIM) - Part II

Introduction

As promised, here is the second review of HOT HD9 Dual SIM, that will now cover only the operating system part, now running Android. I flashed the Android ROM just two days ago, so I haven't really had the time to fully enjoy my "new" phone. Yes, I can say that it became a completely new and different phone because Android is simply amazing and runs really well on it.


The first boot...

Flashing a new ROM always makes me nervous, so it's a relief when the boot screen finally appears...


Android user interface

I believe that you already know or heard about Google's operating system for mobiles - the Android. This is the stock user interface.


And the default lock screen...


I let you with a video of the official Android 2.2 features:


Functionality

In the first part of this review, I did told that this phone runs Windows Mobile quite smoothly, but Android runs much better. 

From the moment you start the experience of Android with the phone, it can be easily noticed that there was a very thorough development of the dual SIM support. As before, the user can choose from which SIM to initiate the call from the dialler. In call history screen, missed / received / made calls can be checked with the indication of the SIM number. In addition, you can filter calls by SIM.


The messaging application displays threaded conversations, just like internet messengers. There's also the indication of the SIM from which the message was sent or received. 


It's a breeze to set up e-mail accounts (especially if you have Google accounts), make calls and send text messages, surf the web and add new programs from the Android Market.


The ability for the user to choose the SIM that can establish a data connection is still present, as well as the schedule power on / off feature.


Just as I expected, the battery lifetime with Android was reduced. As you can see from the next chart, the average lifetime of some native Android smartphones is almost 6 hours.


Don't worry, HD9 is way above the average and beats all those phones. In the first two days of my Android experience, the battery had to be charged every day. Although, I used GPS and Wi-Fi a lot, along with my normal usage... about 2 hours of calls, Bluetooth always on and GPRS data connection from time to time.

The camera

The default camera application, once again with lots of settings.


Final thoughts

I  have to say to you that this is not my first dual SIM smartphone, however it is the first one that supports both Windows Mobile and Android. Now that I have tried Android, I can say for sure that I will never go back to Windows Mobile.

I will let you with my conclusions about highs and lows when comparing this phone running Android versus Windows Mobile.

Highs:
  • Smoother operation
  • Multi-touch functions works much smoother
  • Better dual SIM integration
Lows:
  • Decreased battery lifetime (Android is known for being more power hungry)
  • Camera driver only supports 3MP resolution photos (may be solved in future ROM updates)

Sunday, 16 January 2011

HOT HD9 (Dual SIM) - Part I

Introduction

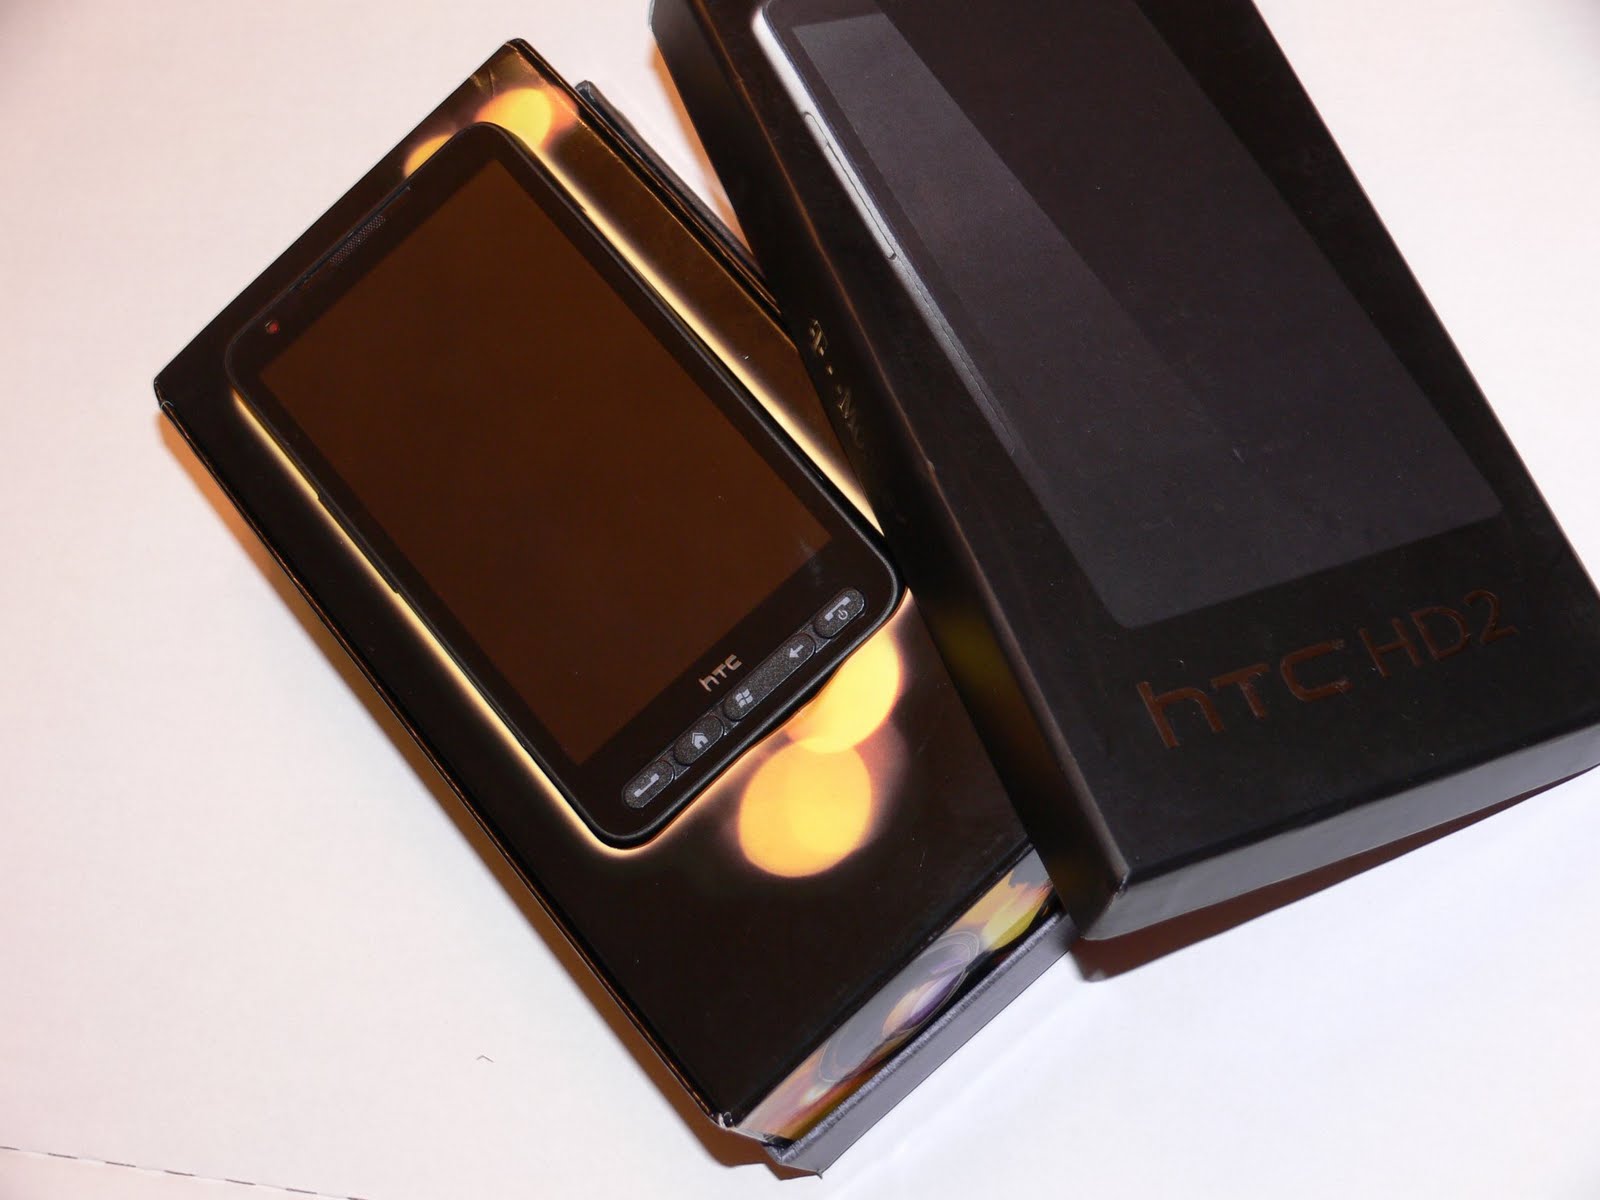
Well, my first review will focus on the newest HTC HD2 clone. This clone is based on a MediaTek chipset and features dual SIM dual standby support. This clone is also known as HD9 because it's a new release which is an exact copy of the original HTC HD2 (in terms of size, camera location and compatibility with original accessories).

Specifications

Chipset

Name:MediaTek MT6516
CPU:416 MHz ARM9™
Instruction set:ARMv5

Software environment

Embedded OS:Windows Mobile 6.5
Android 2.2.1 (Froyo)

Body

Dimensions
(width x height x depth):
120.5 x 67 x 11.3 millimetres
Weigth:150 grams
Color:Black

Memory

RAM:capacity:256 MB
ROM-capacity:512 MB
Expansion slot:microSD memory card, supporting up to 16 GB

Network support

Primary phone:GSM850, GSM900, GSM1800, GSM1900
Secondary phone:GSM850, GSM900, GSM1800, GSM1900
Data links:GPRS, EDGE

Display

Type:LCD capacitive touchscreen
Size:4.3 inches, WVGA resolution (480 x 800 pixels)

Camera

Main (rear):8 megapixels (interpolated) with autofocus and dual LED flash
Secondary (front):0.3 megapixels

Interfaces

Bluetooth (802.15):Bluetooth 2.0 + Enhanced Data Rate
Wireless LAN / Wi-Fi (802.11):  IEEE 802.11b, IEEE 802.11g
USB:USB 2.0 Client, Hi-Speed (480 Mbit/s)
USB Series Micro-B (Micro-USB) connector

Satellite navigation

Built-in GPS module:MT6620 chipset
GPS antenna:Internal
Complementary GPS services:  A-GPS (Assisted GPS)

Additional features

Sensors:
Gravity and Proximity sensors
Analog Radio:FM radio (87.5-108 MHz)


Unboxing

Well, I was very anxious to open the case and try out the phone, but had to control myself and take some pictures first...


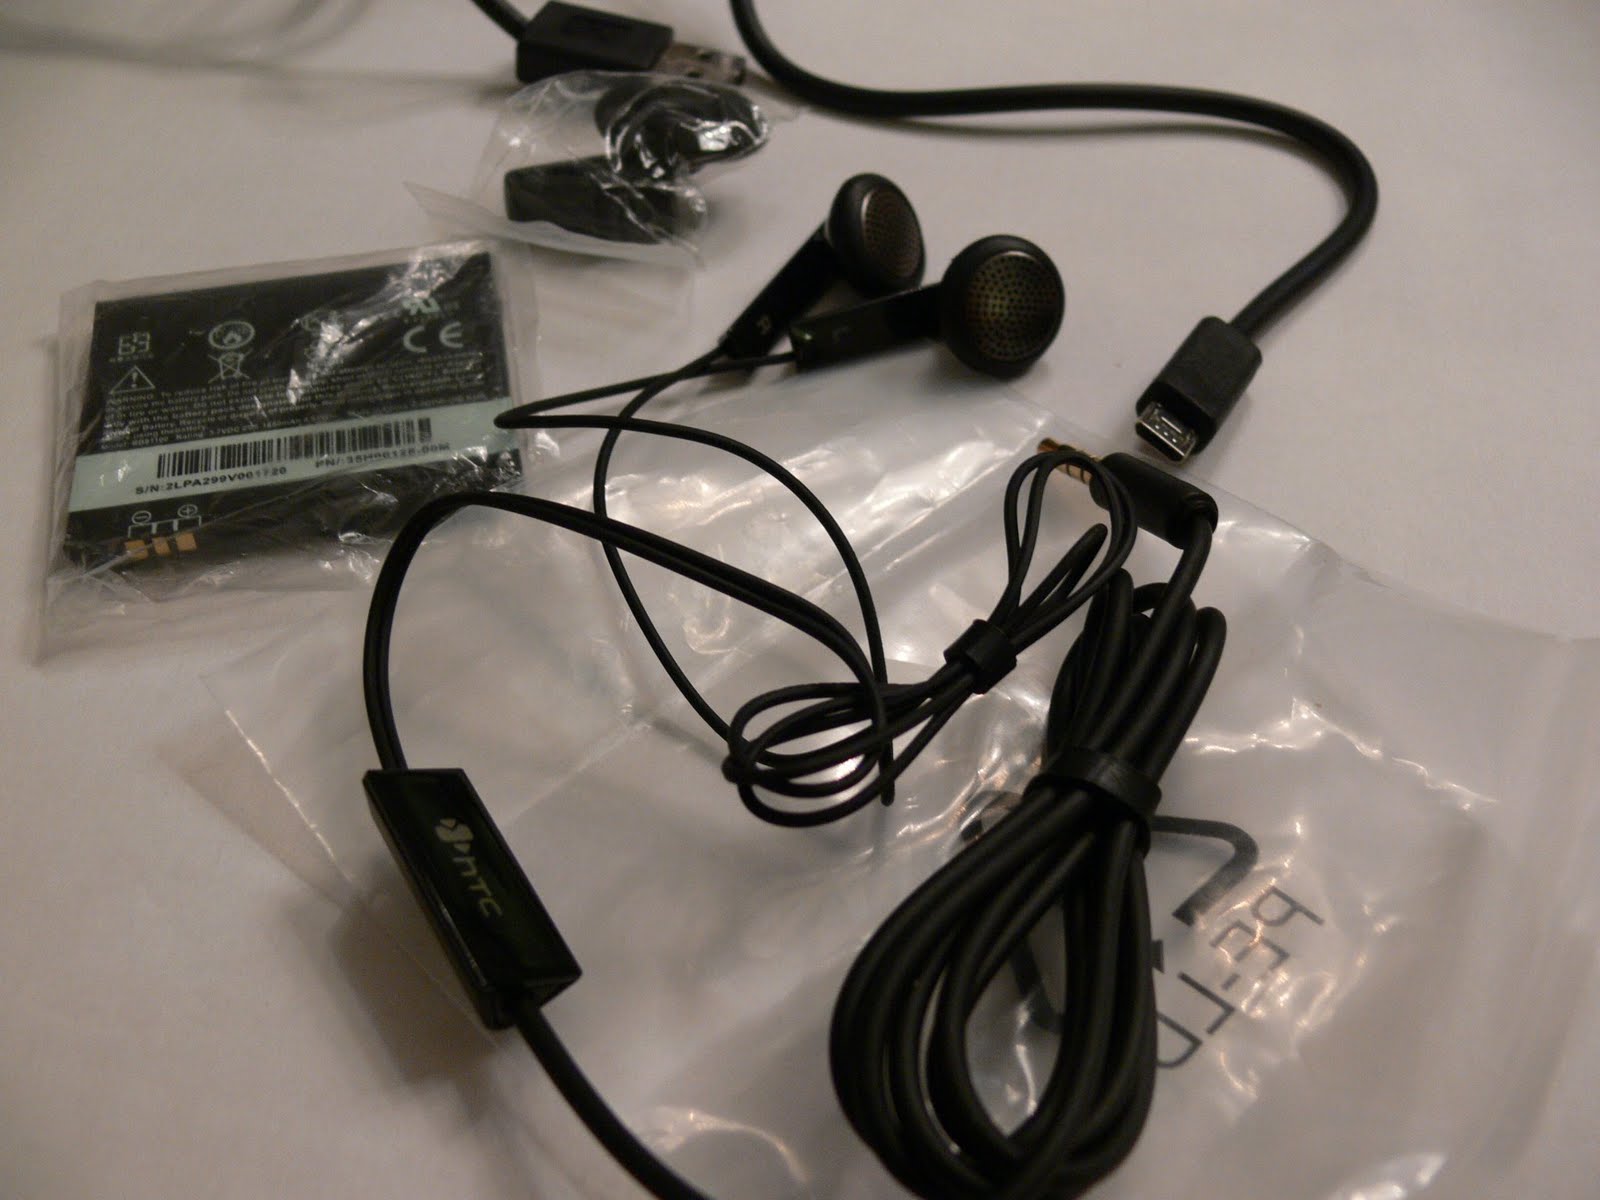
The charger, just like the original...


...and the rest of accessories.


Construction


As you can see, this clone looks exactly like the original HTC HD2. The quality of the materials is very good.


Only two ports dot the outside of the phone: the micro-USB connector and the 3,5 mm headphone jack. Both are located side-by-side at the bottom of the phone, leaving the rest of the perimeter unmarred.


Up and down volume buttons in the left...


The 8 megapixels camera with dual LED flash...


Looks good, doesn't it? The body is exactly like the original HD2. You can have both side-by-side and can't even tell which one is the original and the clone.


After removing the battery, you have the access to the two SIM slots. The one in the bottom is the SIM2 slot, while the upper one is the SIM1 slot. You can also see the microSD slot in the left. 


The super AMOLED display

One of the greatest features of this smartphone is it's beautiful screen. It sports a Sharp super AMOLED 4,3 inch screen. This is actually one of the best screens around, and whose colors... must be seen live.


Viewing angles of this screen are... almost unlimited!


Functionality

From the moment you start working with this phone you can notice the difference speed when compared to the original HD2. This is obviously due to the used processor, but nevertheless the phone runs really smoothly.

The phone came with SPB Mobile Shell pre-installed, but personally I prefer the good old WM6.5 layout. 


The dual SIM integration in Windows Mobile is great. From the dialler, you can choose from which SIM to initiate the call. In call history screen, missed / received / made calls can be checked with the indication of the SIM number.


Using the wireless manager, you can easily enable / disable Wi-Fi, Bluetooth, Phone 1 or 2. Airplane mode (also known as flight mode) disables all wireless radios. From the menu, you can set each SIM card independently. Different ringtones can be set for each card, for example.


Another great feature is the ability for the user to choose the SIM that can establish a data connection. Just as an example, you can have your private card as SIM1 and your data card as SIM2. It's just a matter of selecting to connect through SIM2. Another example could be if you can receive multimedia messages (MMS) in both cards, then you would have to set here the card that should be able to connect to the MMS server and download the message.


The next feature is something that's only available on MTK based smartphones and can be quite useful. Under system settings, you can find a tool that can schedule power on / off. Well, I'm just evidencing this feature because you can only find in very few smartphones.  


A fantastic feature that I noticed while doing some test calls was the ability to turn off the display when your head is next to the earpiece, by making use of the proximity sensor. That can obviously save your battery life as well as prevent you from "touching" something that you don't want to.

In terms of battery performance, it's considerably good taking into consideration that the phone has a very big screen and dual SIM with dual standy support. With a not so intense phone usage, about 2 hours of calls in total, BT always on and sometimes connected to my car kit, some short messages, GPRS connection every 30 minutes to check for e-mails and sync contacts / calendar with Google, the battery lasts two days.


Photos and videos

I got quite amazed by the camera application, as the user can tweak a lot of settings.


For a smartphone, it takes acceptable photos. Although lacking in edge detail like most cell-cam photos, images are bright, pop-out colorful, and as long as you keep the phone stock-still, the flash brilliantly illuminates indoor scenes. However, with a touchscreen shutter release, it’s very difficult to keep the phone as still as necessary to get an unblurred shot in anything but bright sunlight.


HD9 sample photos

Supported operating systems

By the time I got this phone, the only OS supported was Windows Mobile 6.5. As several other clones based on the MT6516 chipset, this one can also be flashed with the newest operating system from Google - the Android. It's said that this year will be the year of Android and this clone couldn't be out of the run.

Please keep in touch and don't miss my next review. I will show you how this smartphone behaves with Android 2.2 (Froyo). Just a few candy for you:


Final thoughts

This is indeed a great phone. If you are looking for a new dual SIM smartphone (to replace your old ACER DX900 like I did), then this is definitely "the" smart choice.

Highs:
  • Dual SIM Dual Standby
  • Multi-touch AMOLED screen
  • Good battery life for a dual SIM smartphone
Lows:
  • Doesn't support 3G networks
  • Could be too big for some people (personally I like this one because of the big screen)